It also means devices that don’t support VPNs (such as games consoles, or media streamers such as the Apple TV) can get the benefits of unblocking, and all devices – such as smart speakers, security cameras and other smart home gadgets – get that extra layer of security and privacy. Not all routers support VPN connections, so you’ll need to check first if your does. You can either check with the manufacturer – often your internet service provider – or simply log into the router itself and have a look through the menus for VPN settings. However, even if it does support VPN connections, NordVPN no longer supports L2TP/IPsec and PPTP connections, so if your router only supports those protocols, you’re out of luck. Instead, you’re looking for OpenVPN support. Specifically, it needs to support OpenVPN as a client (rather than a server, though if server support is present, that’s ok). The best way to find out if it does is to search online for the make and model of your router. If you discover your router has ‘pass-through’ support for OpenVPN, that’s no good: this merely allows connections from devices and won’t block them.
Which router should I use with NordVPN?
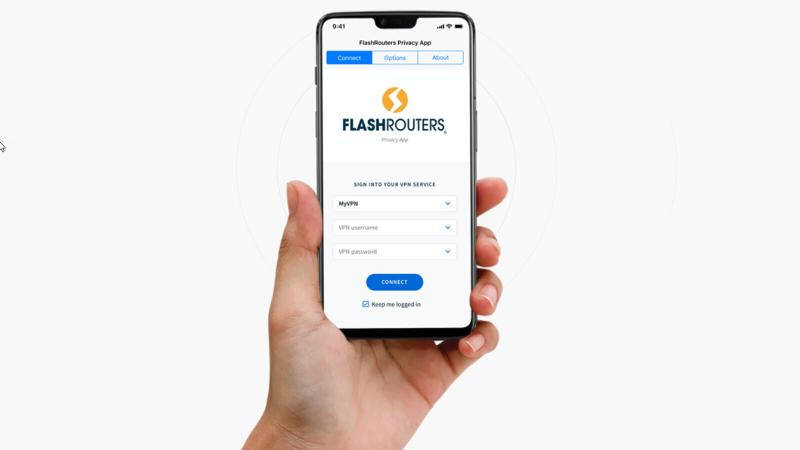
If your current router was supplied by your ISP, chances are that it won’t support OpenVPN. And don’t forget, some mesh routers may support OpenVPN, too, not just single, standalone routers. You may have to buy a new router from those we recommend if your current one is incompatible, or you could head to FlashRouters and buy a router which has special software on it that works with a companion app. That app allows you to log in with your NordVPN details, and also to manage the VPN settings more easily than in a web browser. You can get 20% off using the code NORDVPNROUTER at the checkout.
There’s also a list of the routers which NordVPN recommends. Note that Asus routers have a built-in OpenVPN client, which makes them ideal for NordVPN.
How to configure your router for NordVPN
The exact method of configuring your router to work with NordVPN will differ depending on the manufacturer and potentially even the model. So while we can’t provide a definitive step-by-step guide for your specific router, here are the general steps you need to follow. Also, note that you can find instructions for various routers on NordVPN’s website. First, log into your router. This involves typing its IP address into your web browser. Then, to change settings you will need to enter the admin password. That’s usually on a sticker somewhere on the router itself. For more help, read our guide which explains exactly how to connect to your router. Next, look for the VPN settings. This will usually be under advanced settings, but do remember not every router has these: you must be using a compatible model. Be sure to find the VPN client settings, not the server settings. Here’s how it looks on an Asus router:
Now add a profile, which will include your NordVPN username and password. You can find these in your NordVPN dashboard. If there’s an option, select ‘auto reconnection’, which will re-establish the VPN connection if it drops for any reason. Enter a name for the connection. You can call it NordVPN [country], where country is the location of the server you’ve chosen. Of course, you haven’t chosen a country yet, but you can use this link to find the server that NordVPN recommends. Or, if you have a specific country in mind (to get around regional blocks, say) then choose one from the drop-down menu under ‘Adjust server preferences’.
Download the OpenVPN config files because as part of creating the VPN profile, you’ll need at least one of these. Preferably, use the UDP one. When you see the option to import an .ovpn file, click the button to import it and navigate to where you downloaded the file from NordVPN’s website. Once that’s done, you should be able to save the configuration. Then, you should see an option to ‘activate’ that profile or connect to the VPN. To disconnect, come back to this page in your router and click the ‘deactivate’ or ‘disconnect’ button.
How to connect to a different NordVPN server
Unfortunately, if you’re creating these profiles manually, you’ll need to make one for each server you want to use. In many cases, that will just be a local for for the best speeds, and perhaps one in another country (such as the USA) so you can watch US Netflix, for example. Again, once these profiles are created you can log into your router and activate the profile for the country you want to appear to be in. If you’re not already a NordVPN customer, you’ll find the latest deals for the best prices on its website. Jim has been testing and reviewing products for over 20 years. His main beats include VPN services and antivirus. He also covers smart home tech, mesh Wi-Fi and electric bikes.